
That moment of panic is all too real. You’re scrolling through your photos, and you see it a blank spot where a memory should be. You click, and instead of a photo, you get a “file not found” error. Your heart sinks.
Whether it was an accidental delete, a formatting error, or a mysterious glitch, the feeling is the same: loss.
As someone who has helped countless people navigate digital disasters, I want you to hear this first: Stop. Don’t do anything else. The single most important step to recovering your photos happens right now. Your chances are high, but they depend on your next actions.
This guide will walk you through the critical, immediate steps and then guide you through your recovery options, from quick built-in tricks to powerful software solutions.
Briefly
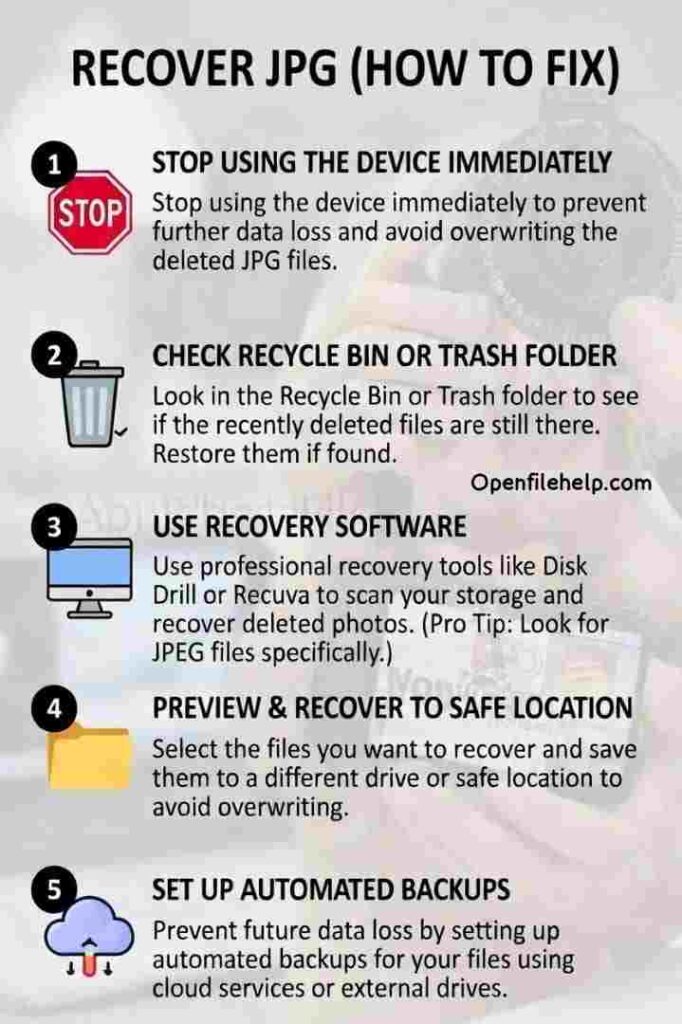
In a heart sinking moment, your first actions are critical. Follow this plan to maximize your chances of getting your photos back.
- STOP IMMEDIATELY: Cease all activity on the device or drive. Do not save, download, or install anything to it
- Check Digital Trash: Immediately look in your computer’s Recycle Bin (Windows) or Trash (Mac) and the “Trash” folder within any cloud services (Google Photos, iCloud)
- Use Recovery Software: Your best tool is dedicated data recovery software. Download and install it onto a different drive to avoid overwriting your deleted photos
- Recover Safely: When the software finds your JPGs, preview them and save the recovered files to a separate, safe location
- Learn for Next Time: Use this scare as the catalyst to set up a robust, automated backup system
The Golden Rule of Data Recovery: Stop Writing Data
When a file is deleted, it isn’t immediately erased. Your computer simply marks the space it occupied as “available for use.” The actual photo data remains there, intact, until something new overwrites it.
The sooner you act and the less you use the device, the better your odds.
What this means for you:
- Do not save new files, download software, or install programs to the drive the photo was on.
- Do not take new photos with a camera or phone if you’ve just deleted the ones you need.
- If the deleted file was on your main computer hard drive, close all non-essential applications immediately to minimize file activity.
Phase 1: The Instant “Oops” Fixes
Before we break out the heavy machinery, let’s check the digital equivalent of your pockets and the lost and found.
Step 1: Check Your Recycle Bin (Windows) or Trash (Mac)
It sounds obvious, but it’s always the first place to look. Open it up and sort by date deleted. If your photo is there, a simple right click and select “Restore” will put it right back where it came from.
Step 2: Check Your Backups (The Lifesaver)
Now is the moment of truth for your backup habits. Check these common places:
- Cloud Services: Open Google Photos, iCloud Photos, Dropbox, or OneDrive. Check the “Trash” or “Bin” within these services, as deleted files often linger there for 30 to 60 days.
- External Hard Drives: If you use Time Machine (Mac) or File History (Windows), connect the drive and browse the backup for your missing files.
If you find your photos here, you’ve just experienced the best case scenario. Let this be a reminder to keep those backups running.
Phase 2: Recovering the Photos Themselves
If the easy fixes came up empty, it’s time to use more advanced methods. Your best tool here is dedicated recovery software.
How Recovery Software Works
These programs scan the storage drive at a deep level, looking for the “signatures” of file types like the unique header of a JPG file in the spaces marked as empty.
When they find these signatures, they can reconstruct the file and save it to a different location.
Your Recovery Toolkit
The Professional Grade Solution for Your Memories
While free tools exist, recovering irreplaceable photos is not the time to gamble. You need a tool that is both powerful and safe. In my experience, one tool consistently stands out for its deep scanning capability and user friendly interface, especially for photo recovery. The tool is Disk Drill (from CleverFiles).
Others you may try are:
EaseUS Data Recovery Wizard: Great quick + deep scans, photo repair for corrupted files, and broad device support (often praised for simplicity).
Stellar Photo Recovery: Specialized for images/videos, with deep scans and a clean interface, though some reviews note it’s best for straightforward cases.
The JPG Recovery Process (General Steps)
- Download and install your chosen recovery software onto a different drive (for example, if your photos were on C:, install the software on a USB drive or D:). This avoids overwriting the very data you’re trying to save.
- Select the drive where the deleted photos were located.
- Choose the scan type. Start with a “Quick Scan,” and if that doesn’t find everything, run a “Deep Scan.”
- Preview the results. Browse the found files, using the preview function to confirm the photos are recoverable.
- Recover to a safe location. Save the recovered JPGs to a different drive or external USB. Never save them back to the original location.
Discover free methods to repair corrupted .JPG files without spending a dime. Learn simple tricks like format conversion, online tools (e.g., jpg.repair, EaseUS Photo Repair), CHKDSK scans, renaming, and basic editors to recover your precious photos easily.
A Special Note on Thumbnails
What if you can see a perfect thumbnail in a folder, but the actual JPG file is gone?
This is a special kind of tease, but that thumbnail can be a lifeline. Thumbnails are small, cached copies of your images. While you can’t get the full resolution photo back from a thumbnail, you can often recover a small, lower quality version of it.
How to Recover a Thumbnail Cache Image (Windows)
- Navigate to this folder:
C:\Users[YourUsername]\AppData\Local\Microsoft\Windows\Explorer - You will see several files like thumbcache_xxx.db
- Use a free, dedicated tool like “Thumbnail Database Viewer” to open these cache files
- You can browse and export the small thumbnail images from within the tool. It’s not the original, but it’s better than nothing
Summary: Your Path to Recovery
Your photos are more than just files. They are frozen moments in time. With a calm, methodical approach, you have an excellent chance of bringing them back.
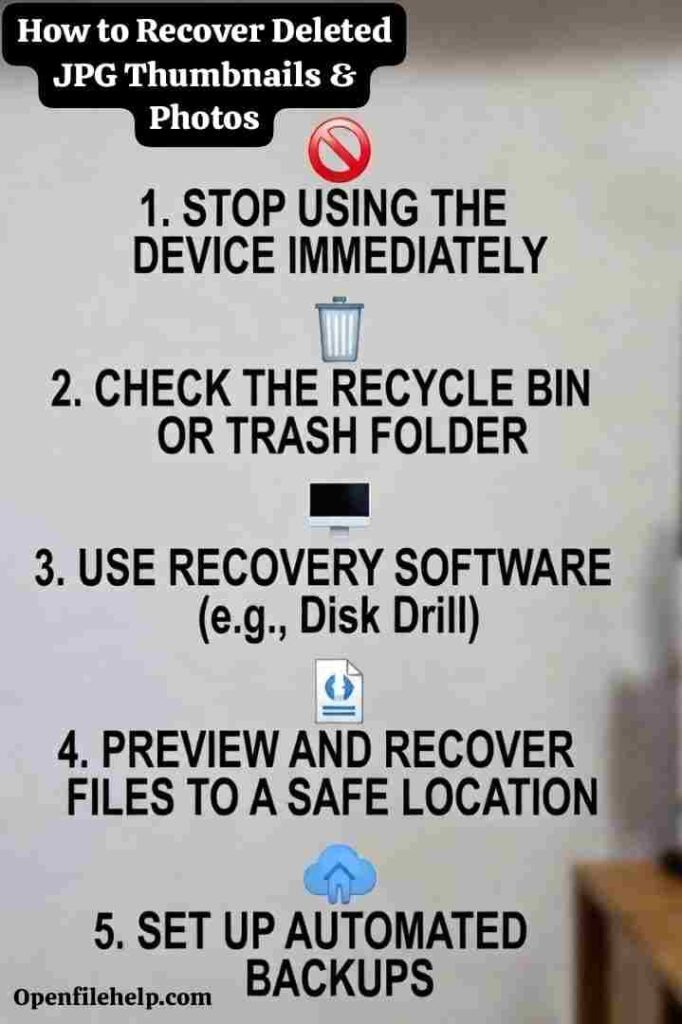
- STOP USING THE DEVICE immediately
- Check Recycle Bin or Trash and Cloud Backup Trash
- Use a reputable data recovery tool like Stellar Data Recovery to scan the drive
- Preview your files and recover them to a different location
- Learn from the experience and set up a robust, automated backup system today.
Read Also: How to Recover WhatsApp Images That Won’t Download – 10 Step Guaranteed Fixes
Frequently Asked Questions
How long do I have to recover a deleted photo before it’s gone forever?
There is no set time. A deleted file remains on the drive until the space it occupied is overwritten by new data. This could be seconds or years.
The moment you realize a file is gone, you must act to prevent overwriting by minimizing all use of the device. Your chances are highest in the first few hours.
I can see the thumbnail in the folder, but the file is gone. Can I get the full photo back?
Unfortunately, no. The thumbnail is just a small, cached preview. However, you can often use a free tool to extract and save that smaller thumbnail image, which is better than nothing.
The presence of the thumbnail is a great sign that recovery software has a high chance of finding the full sized original file.
I deleted photos from my phone’s SD card. Can I still recover them?
Yes, absolutely. The same principles apply. Remove the SD card from your phone immediately to prevent new photos from being written to it.
Then, use a card reader to connect the SD card directly to a computer and scan it with data recovery software. Do not scan the phone’s internal memory through the USB connection if the files were on the card.
Are free data recovery programs safe to use?
Some are, but many come with risks like hidden malware, bundled adware, or severe limitations such as only letting you recover a small number of files. For irreplaceable photos, investing in a reputable, professional grade tool is the safer and more reliable choice.
I use Google Photos or iCloud. Aren’t my photos backed up automatically?
Only if you had backup and sync enabled. It is crucial to check your settings. Furthermore, when you delete a photo from your phone’s gallery app, it may also be deleted from the cloud service’s Photos view.
However, most cloud services have a separate Trash or Bin folder where deleted items are held for 30 to 60 days, so that should be your first cloud based check.